
For users, encountering an error page can be frustrating and confusing. If your 404 page template is not customized properly, users may decide to leave your website. As a result, you’re missing out on engagement and potential conversions.
Fortunately, you can let users know they are still on your website and direct them back to your content by creating a custom 404 page.
What’s more, you can do this without needing any special technical knowledge thanks to Elementor.
In this article, we’ll explain the benefits of having a custom 404 page for your website. Then, we’ll show you how to build one in Elementor. Let’s get started!
Why you need a custom 404 page
A 404 error is a page that’s displayed when a server is unable to find the requested content. In other words, when a visitor either clicks a broken link or enters an incorrect URL on your site, they’ll receive a 404 error. For example, here’s our 404 page:

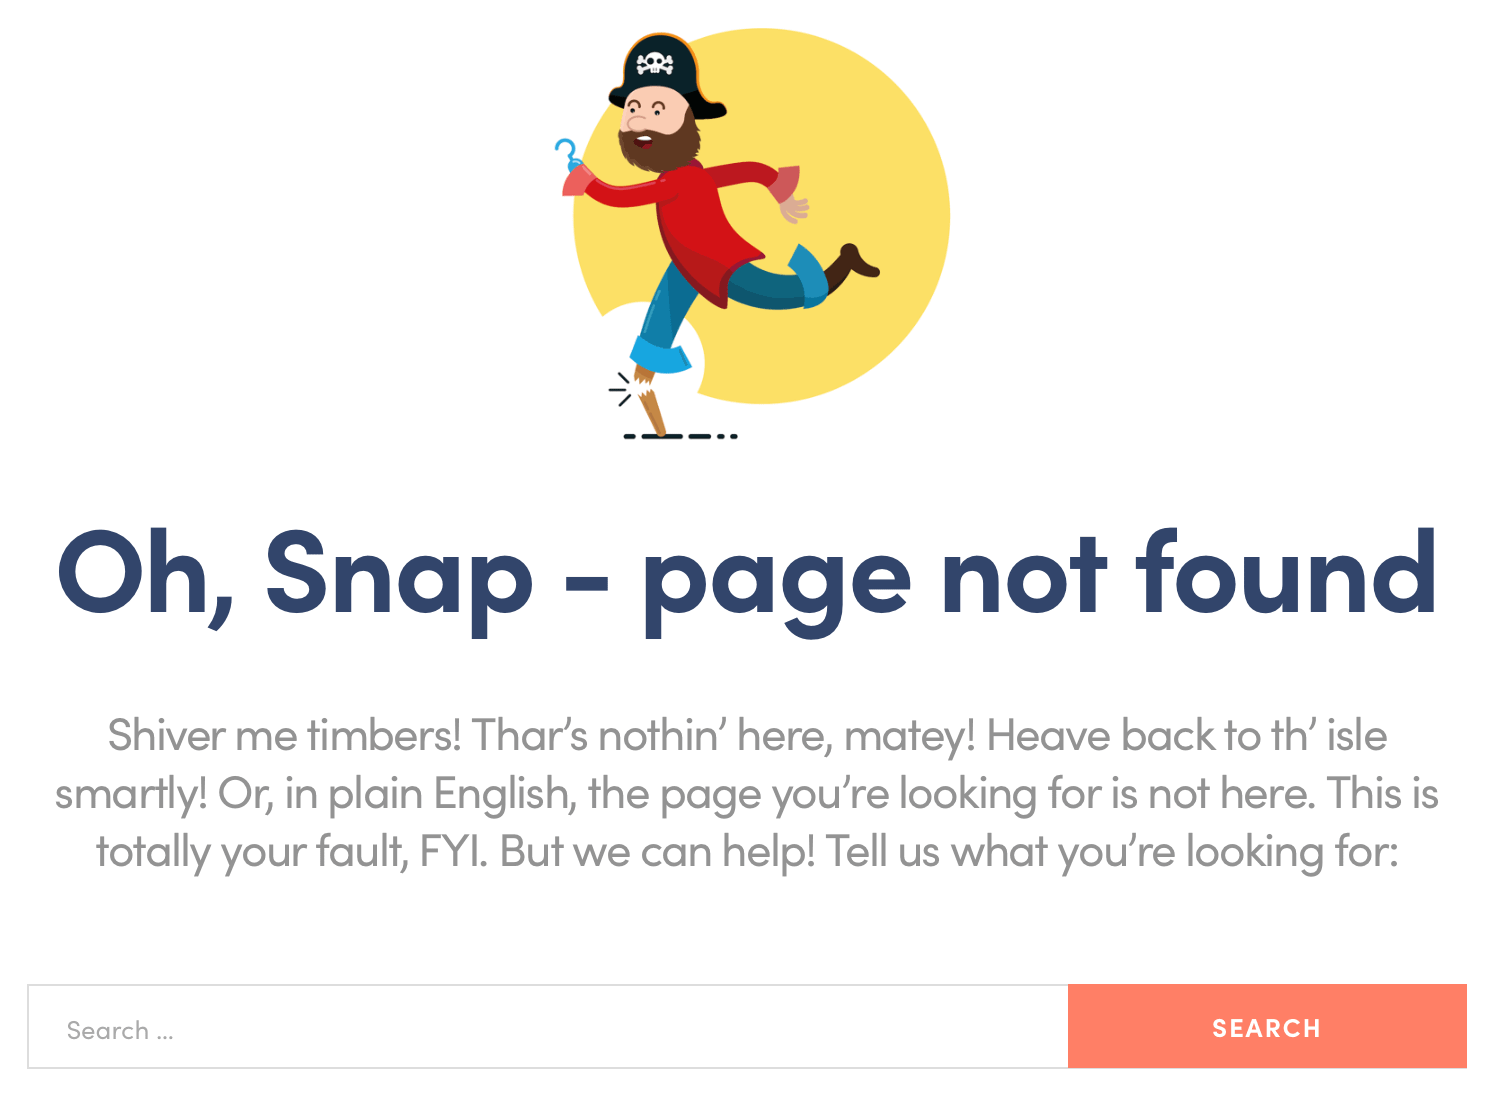
As you can see, we have tailored our 404 page to match our branding and to provide a way back to our active content – a search form in this case.
An effective 404 page that is customized lets people know they are on the right website. In addition, it can provide links back to your content, which can improve your overall engagement numbers. If you don’t customize it, your visitors will receive a generic page from your active WordPress theme:

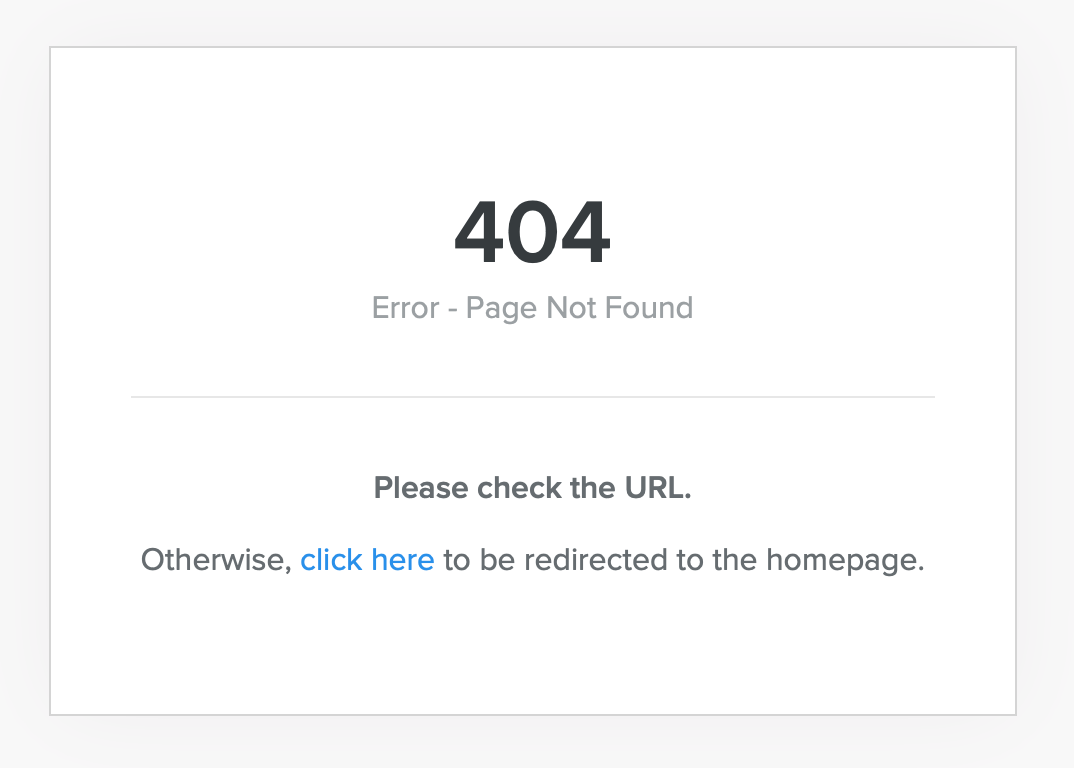
Although this particular 404 page does have a link back to its main website, there isn’t another way to tell which site it belongs to. As a result, the user may decide simply to close the window and move on. After all, if they fail to find the content they were looking for on your site, they may look elsewhere.
In contrast, with our 404 page the user knows exactly where they are. Moreover, we’ve provided a search bar to help direct them to what they were trying to find. Not to mention, if you were to scroll down the page of our example you would find links to some of our most popular content.
Including elements such as these on your custom 404 page can help to prevent users from bouncing. In addition, you can increase your branding, as well as promoting trust and goodwill to your audience.
How to create a custom WordPress 404 page template using Elementor
To create a custom 404 error page template on WordPress, you can use the premium version of Elementor – Elementor Pro.
Elementor is a visual, drag-and-drop page builder, which means that you can create a totally custom design without needing any special knowledge. Or, if you don’t want to build your own design from scratch, Elementor Pro also includes a number of pre-built 404 page templates that you can import and customize as needed.
To get started, you’ll want to install both Elementor and Elementor Pro. Then, follow these steps to create your own custom 404 page design…
1. Create a new 404 page template
To begin, you’ll need to create a new Elementor template. In your WordPress dashboard, go to Templates → Theme Builder:


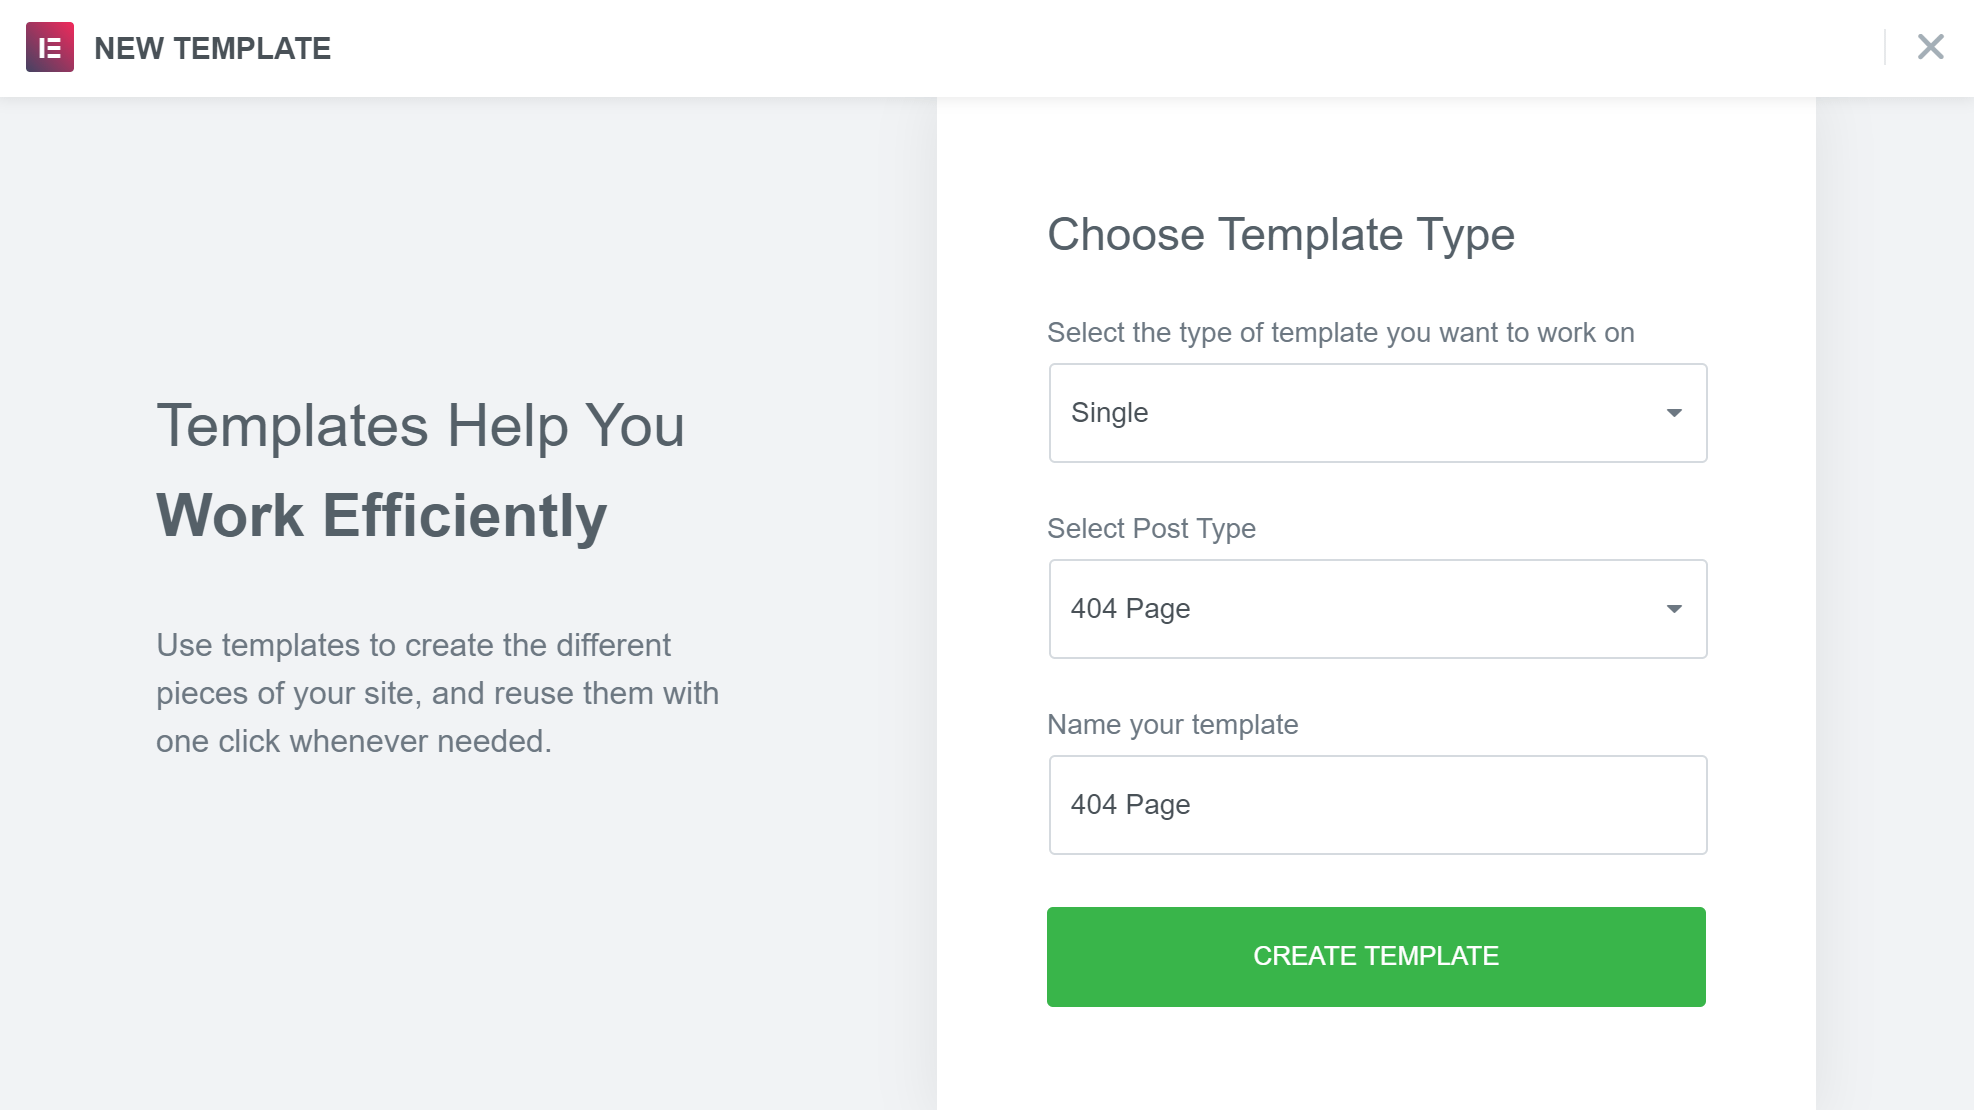
Next, select Single → Add New. This will bring up a page where you can choose the template you’d like to create. Click on the Type of Template drop-down menu and select Single. Then, navigate to the Post Type drop-down and click 404.
You’ll then be asked to name your template. You’re free to name it whatever you like, but we suggest sticking to something you’ll recognize, like “404 Page”. With this done, click on Create Template and you’re ready for the next step.

Step 2: Design your page
As we discussed above, a well-designed 404 page can prevent users from leaving your site when they encounter one. Of course, they can also increase engagement and lower your bounce rates, which is why this step is so important.
As a result, there are some strategies you can employ when it comes to creating your 404 page. For starters, you can use humor to ‘soften the blow’ and help to prevent users from becoming frustrated:


An image such as this one from Embrace Pet Insurance helps to make their 404 page fun and cute. You can also use images that are either interesting or reflect your branding:


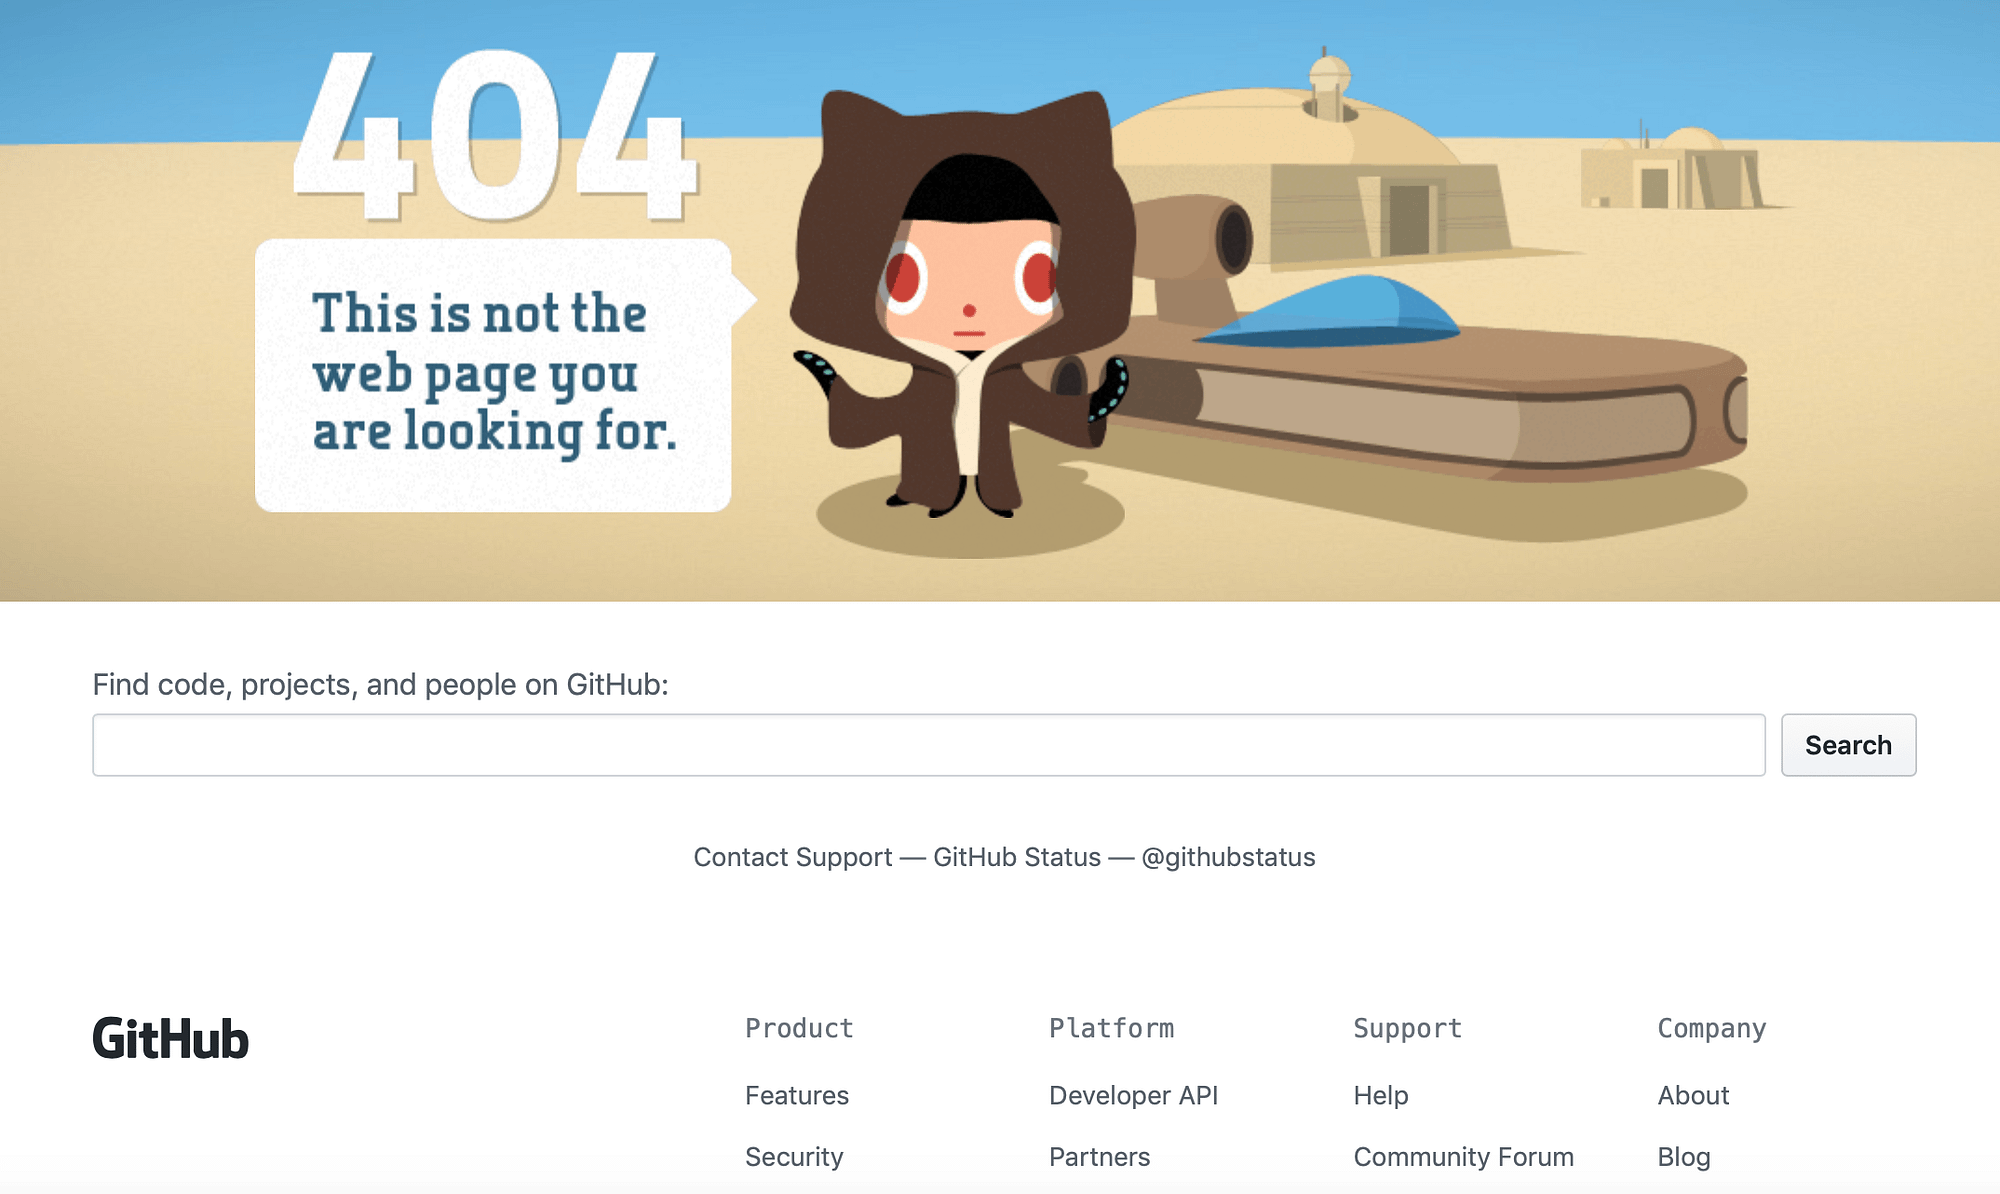
Other elements you may want to add include contact information, a search bar (just like we do), and a link back to your home page. You may also consider adding some links to your most popular content or even a sitemap, in a similar way GitHub does at the bottom of their 404 page:

Combining these features can make encountering a 404 error page entertaining. In fact, some people will even purposely mistype a URL in order to see how their favorite site has designed theirs.
To design your page, you can start with one of Elementor’s 404 page templates and then customize it to match your branding and voice using Elementor’s visual, drag-and-drop interface:

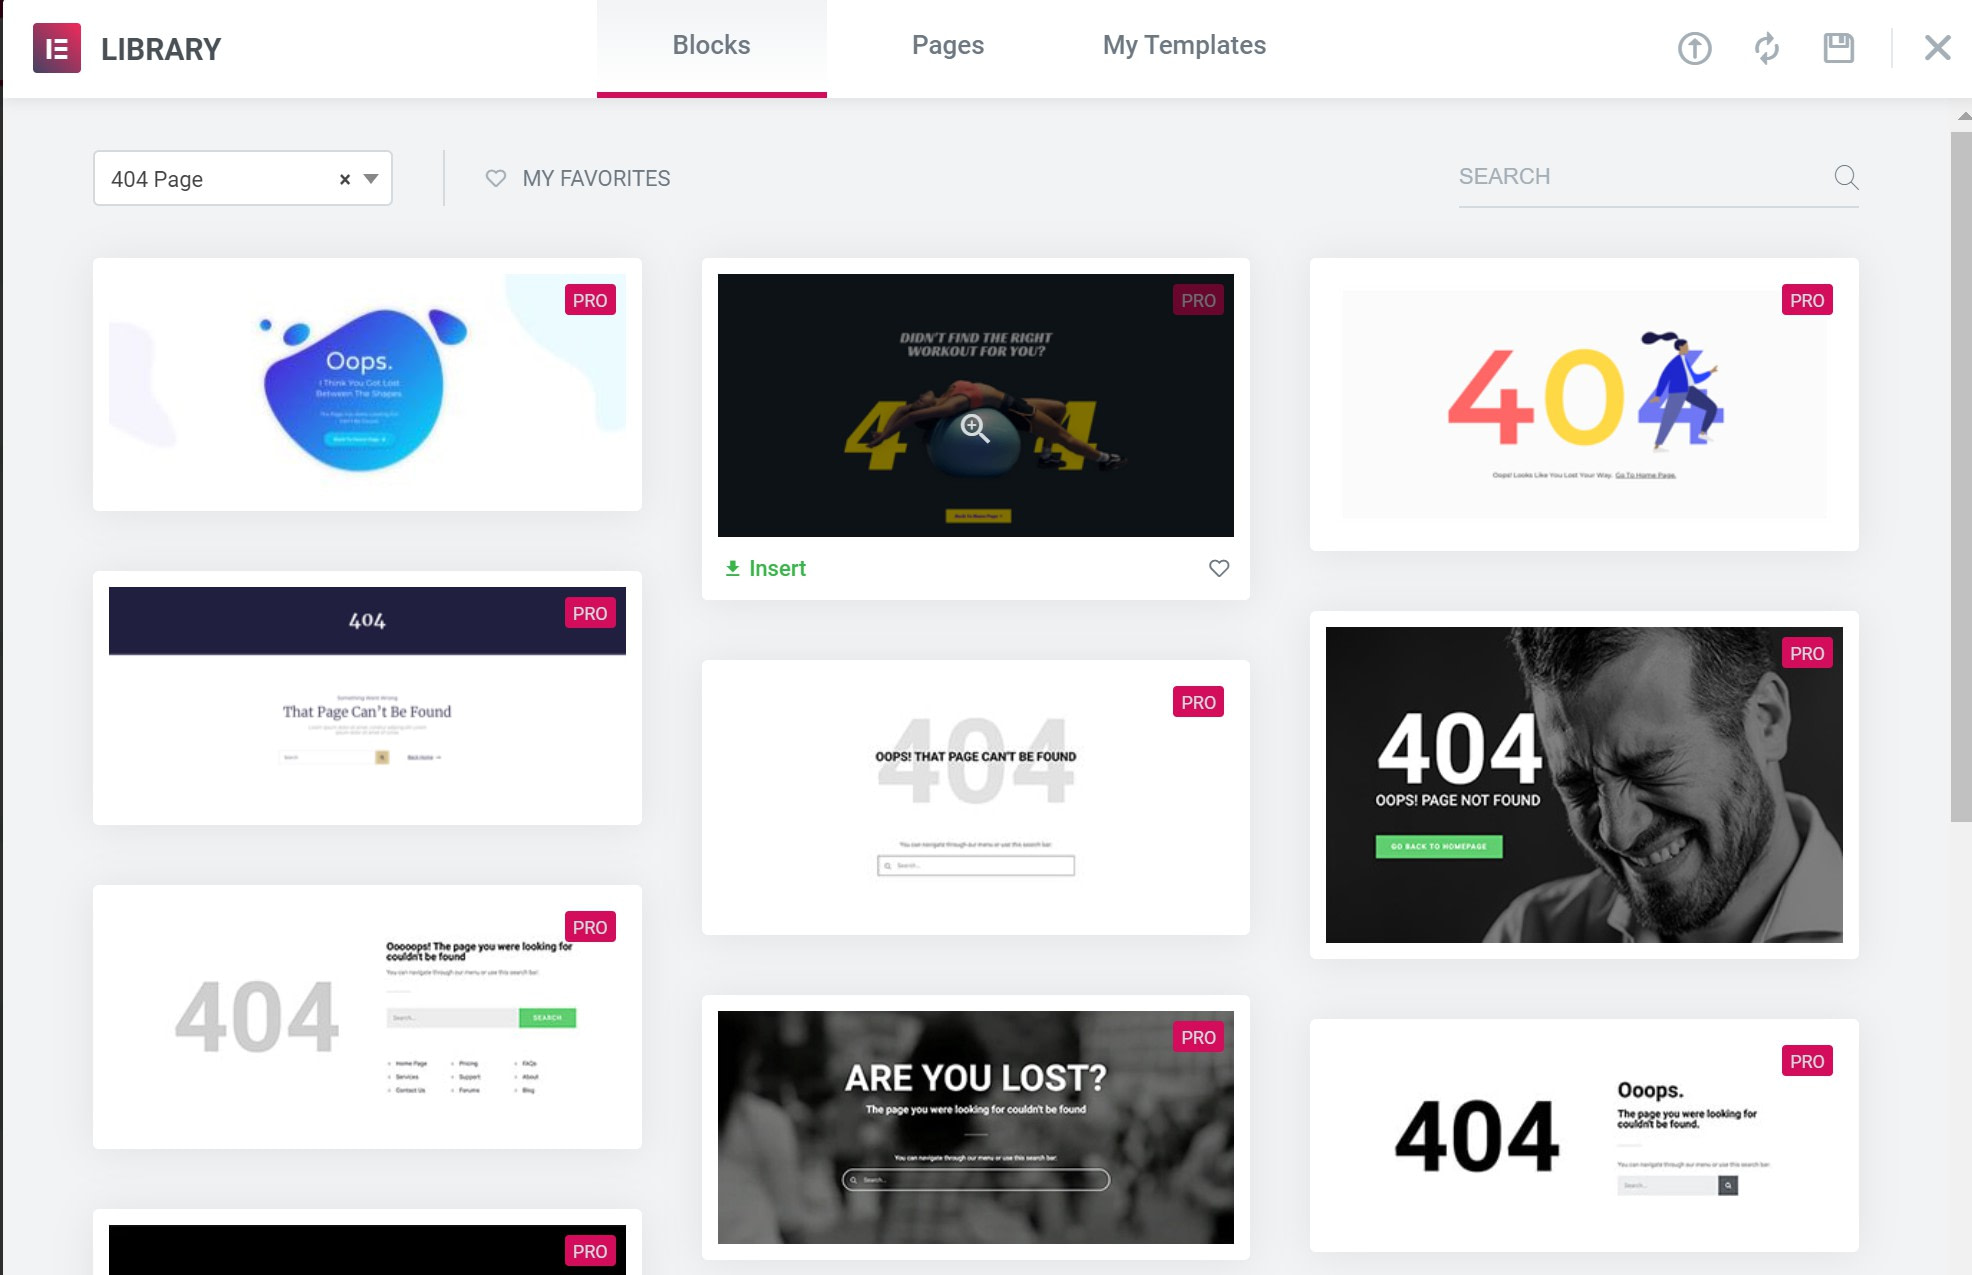
Elementor includes all the widgets you’ll need – including a search form – so you can also build your 404 page template from scratch using the drag-and-drop interface.
If you’d like a helping hand here, we have a tutorial on how to use Elementor. While that tutorial is focused on building a product launch page, you can apply the same basic principles to your 404 page design.
Step 3: Publish your new 404 error page
At this point, all that’s left is to publish your new 404 error page.
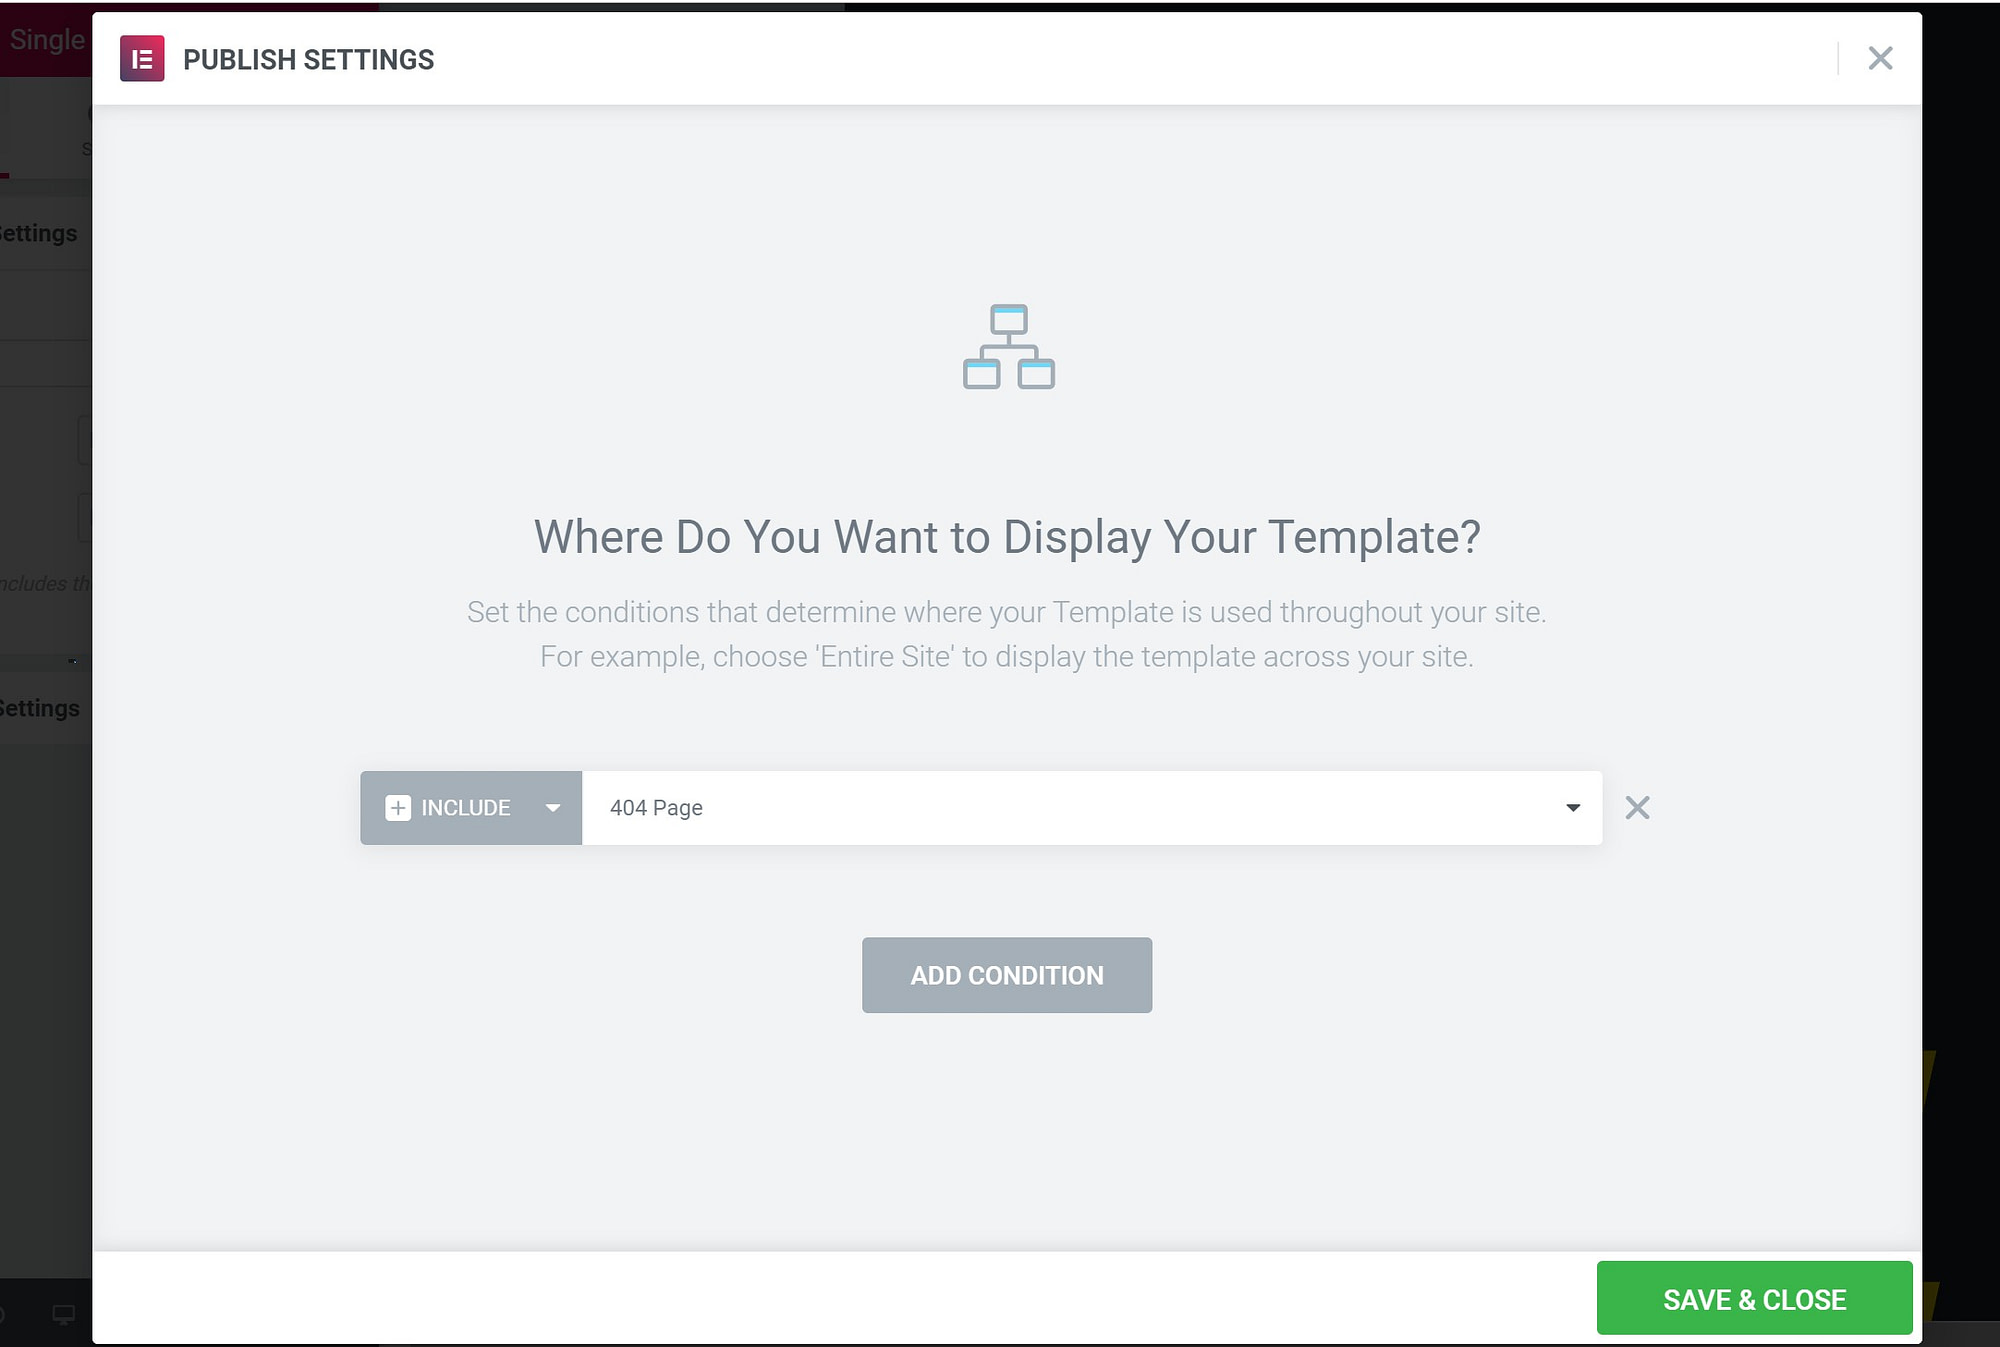
To do that, click Publish in the bottom-left corner of the Elementor interface. That will open the Publish Settings popup, which lets you control where to display your template.
Elementor will have already selected your 404 page, so you can just click Save & Close to make your new custom 404 page template live:

Now, whenever someone clicks on a broken link or mistypes a URL, instead of being lost, they’ll find themselves on your custom 404 error page. This will give you a much better chance of keeping users engaged and happy as they navigate your site.
Conclusion
No matter how meticulous you may be when it comes to design, at some point users are going to encounter a 404 error page on your site. When they do, optimizing your 404 page template can not only improve your bounce rate, but also offer a better user experience.
This article has discussed how easy it is to use Elementor and Elementor Pro to build a custom 404 page. There are only three steps, so let’s recap them quickly:
- Create a new 404 page template.
- Design your page or choose one of Elementor’s templates.
- Publish your new 404 error page.
Do you have any questions about 404 error pages or how to set one up in WordPress? Ask away in the comments section below!