
Creating a unique website welcome message for different pages on your site gives you a chance to connect with visitors using personalized content.
For example, if you have a WooCommerce category page for women’s clothing, why not greet customers with a message targeting women and maybe a coupon exclusively for ladies shoes?
Every website has a wide array of different pages, so why not welcome the people who are searching for the specific content on those pages? Keep reading to learn how to create some incredible and targeted welcome messages for your users.
How to create a website welcome message on WordPress
To create your welcome message, you’ll first need the right tool.
Technically, you could complete this process with your favorite email marketing form tool or maybe even a live chat plugin. Both of these have popups with customization tools. However, they typically lack the more advanced settings for targeting unique webpages and ensuring that customers either are or aren’t targeted again.
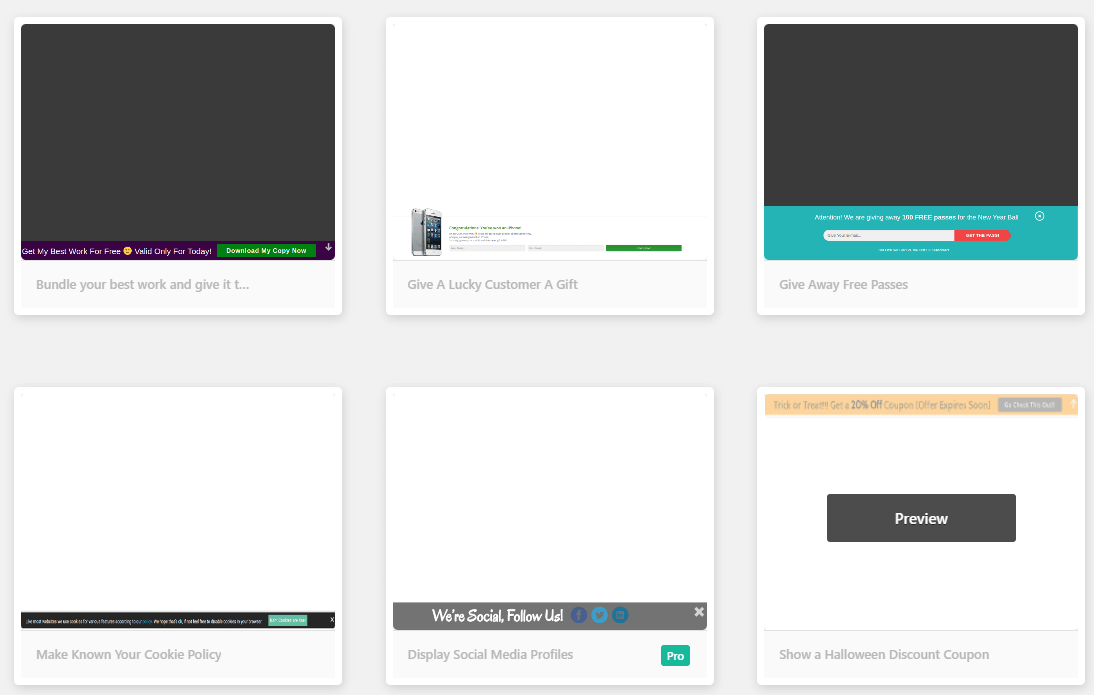
As a free alternative, you can use the Icegram plugin, which provides some stunning templates, many of which are free:
Note: The Popup Maker plugin is also a solid choice (and pretty much the only other plugin that does decent targeted welcome messages). However, Icegram has far superior templates than Popup Maker. That’s why I’m using it for the tutorial.
After finding the plugin in the WordPress library, go to your WordPress dashboard and install it onto your site. Activate the plugin to complete the process. If you have any questions about installing a plugin, read our guide here.
Once you’ve done that, here’s how to use it…
1. Take a moment to understand how Icegram works
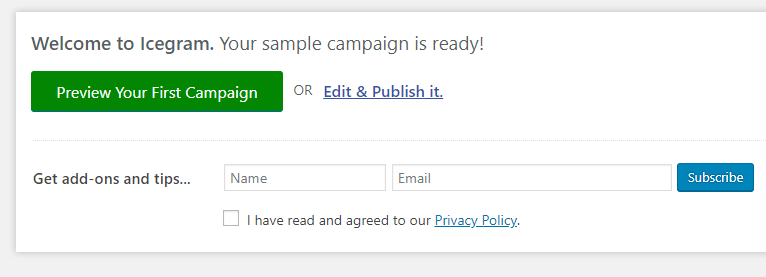
After activation, the Icegram plugin brings you to a welcome page. Here, you’ll find a sample campaign already configured for you to help you get up to speed with the features.
You have the option to preview the campaign or edit it. Technically, you could go into this sample campaign and use it as a starting point. Either way, click on both buttons to see how a completely finished campaign looks.

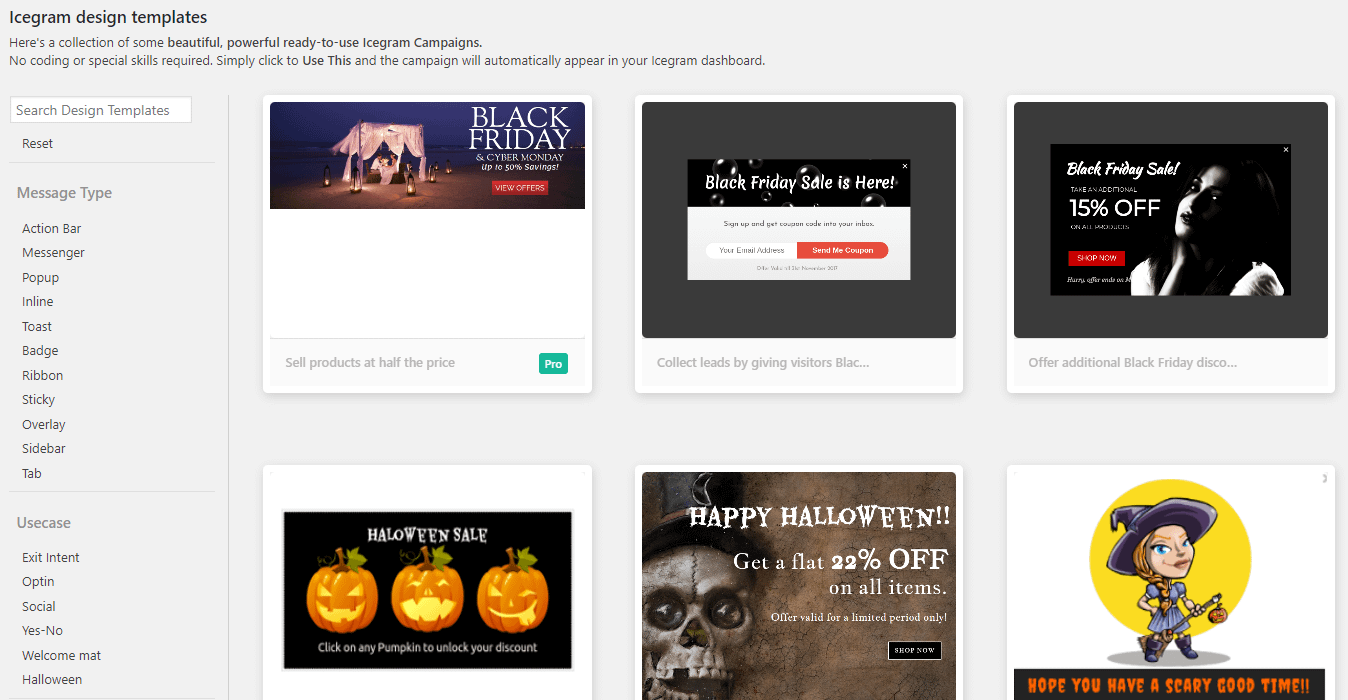
You can also find the collection of templates as you move around the dashboard. As mentioned, many of these are rather beautiful, and you have quite a large library to choose from.
Take a look on the left and you can see all of the message type filters and use-cases to guide you in building your popups. You might end up using five of these types of messages throughout your website. And that’s the glory of targeting certain pages: no one gets bombarded by five messages while on your site.

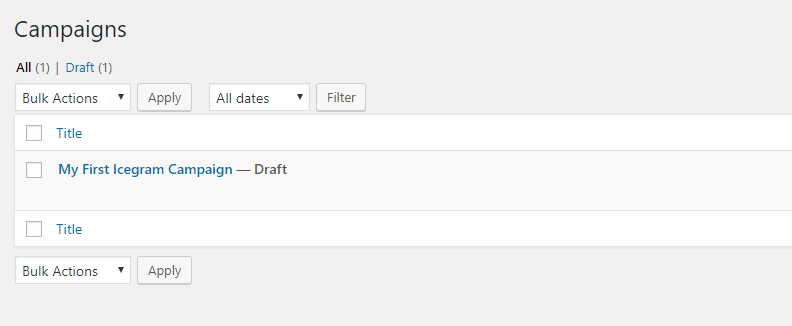
You can also go to Icegram → Campaigns.

This is where all your campaigns will be located. As you can see, the mock campaign is the only one located there right now, but obviously, you’ll want to fill up that list with some high-converting, targeted website welcome message options.

2. Add a new campaign for a website welcome message
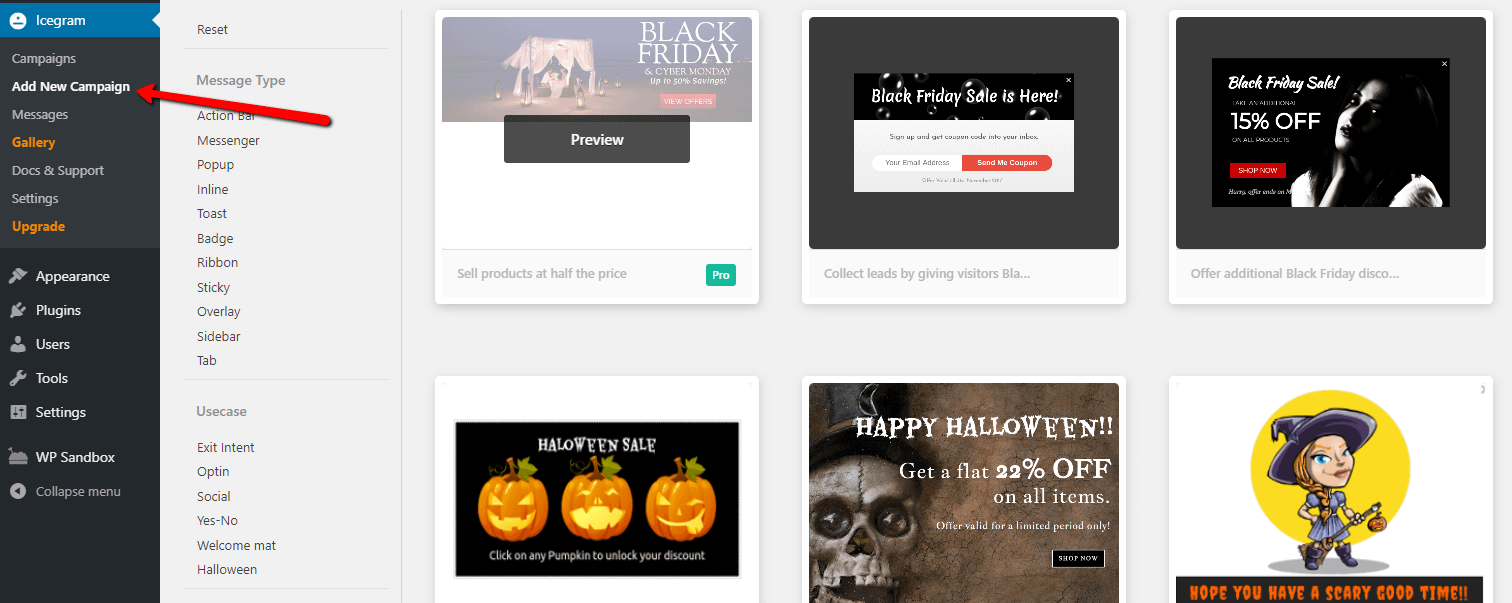
Go to Icegram → Add New Campaign. There, you’ll see that same list of templates.
Some of the templates are Premium and some are free. I would recommend checking out the Icegram pricing plans if you see some Pro templates that are perfect for your site. The plans are yearly and pretty affordable.
Anyway, you have so many popup options to choose, from toasts to stickies, and messenger modules to overlays. For this tutorial, I’m pretending that I have a travel blog. In addition to that, my site has a Store page with merchandise like buttons, mugs, and t-shirts.

The theoretical plan is to get rid of some older items during Black Friday. My fake company has had trouble selling them, so it’s about time we stop storing them as inventory and provide a steep discount for customers.
However, I don’t want this 40% off popup being shown to the rest of my customers. Therefore, I’ll target those who land on specific product pages. Or maybe I’ll only put it on the online store and have the link only lead to a page with the discounted products.
Once you select a template, you’ll see a live preview of your chosen template. If you like how it looks, click the Use This button to continue and customize the template:

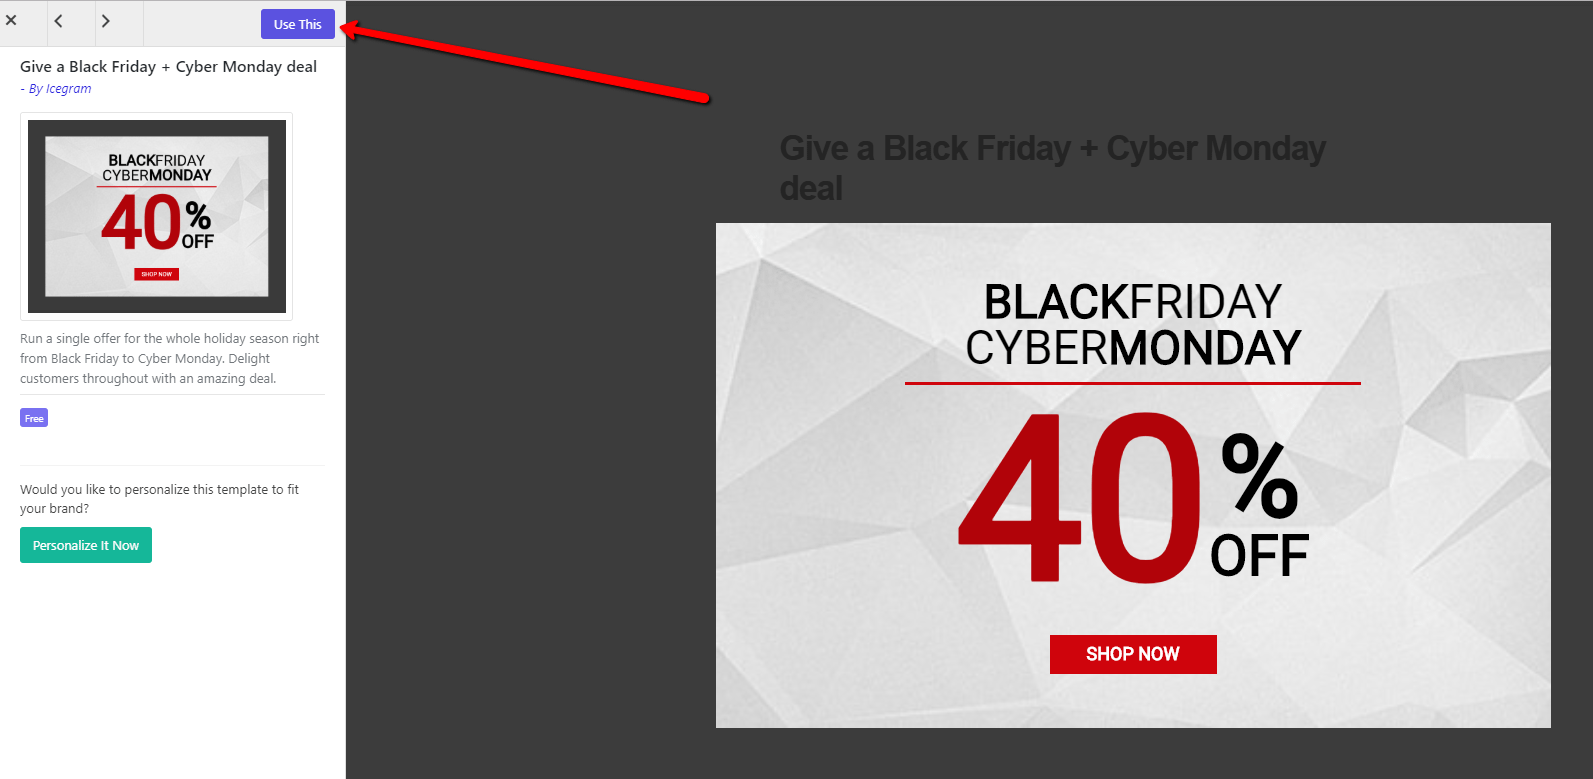
Now, you’re in the area for editing the campaign. Change the title, adjust the primary message, or select different colors for the popup box.


Some of the popups have custom CSS code that you could modify. You should also add a solid call to action label and link to a page on your website.


3. Target specific pages using the display rules
Here’s where it really gets fun. You’ve designed an interesting website welcome message, but now you get to decide where that message is going to show up on the website.
Click on the Display Rules tab towards the top of the page.

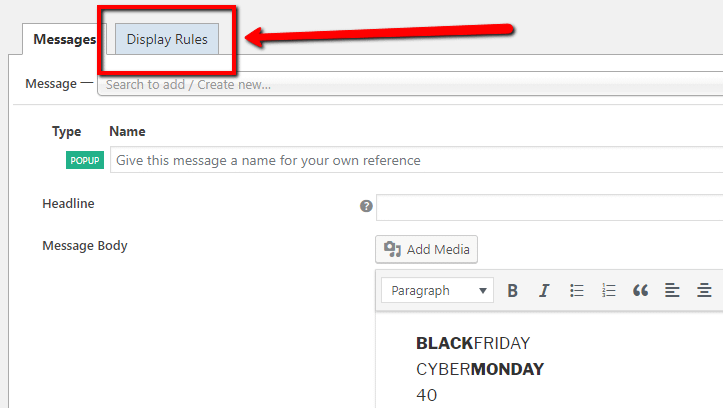
The Display Rules tab offers several settings to choose from.
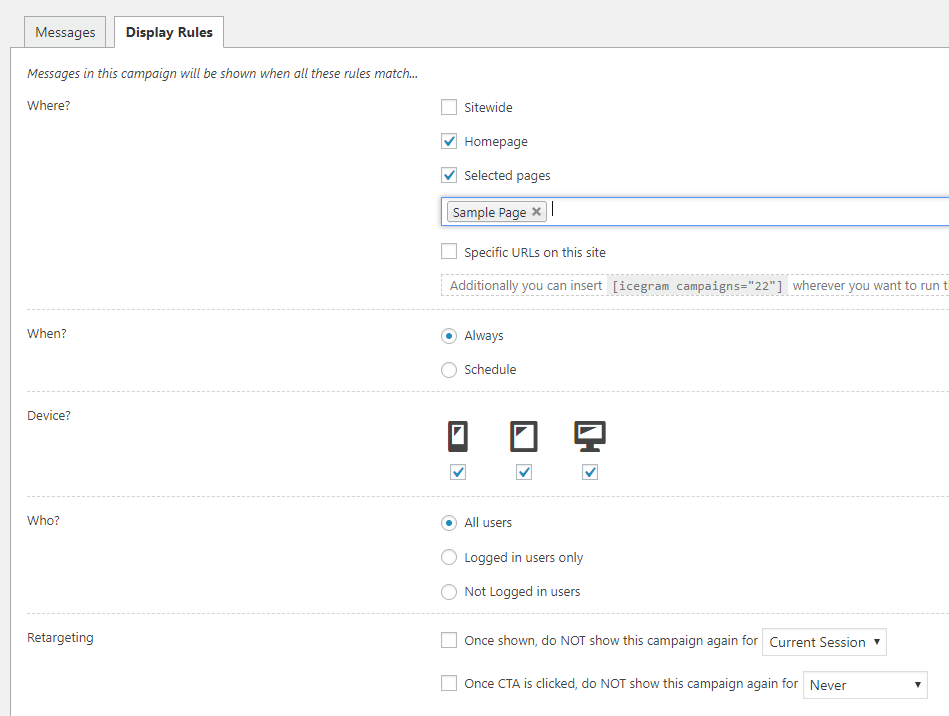
The first field is the “Where?” question. It’s asking where you would like the message to appear. You can state Sitewide, on the Homepage, for Selected Pages, or for Specific URLs you copy and paste in.
Since I only wanted to target my Shop, I would consider using the Selected Pages or Specific URL boxes.

As an alternative to targeting pages this way, the plugin also gives you a shortcode for every welcome message campaign you create. So if you want, you can just add that shortcode directly to the pages where you want to display your website welcome message.
The message location is important, but remember to fill in the rest of the form.
For example, you might want to schedule the message or remove the popup from mobile devices. You could also make sure that users don’t see the messages after they’ve engaged with them already.
4. Explore for a new website welcome message!
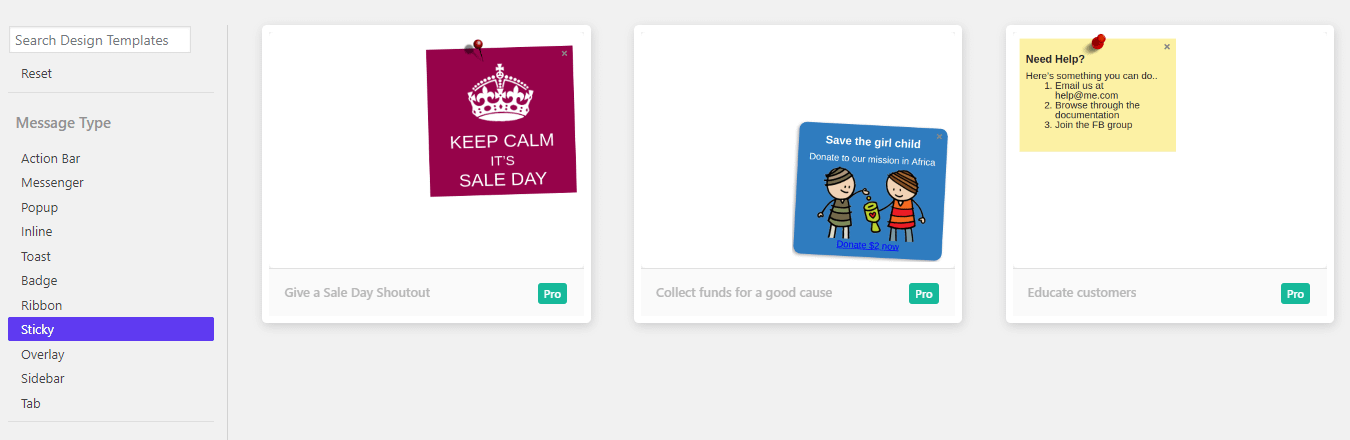
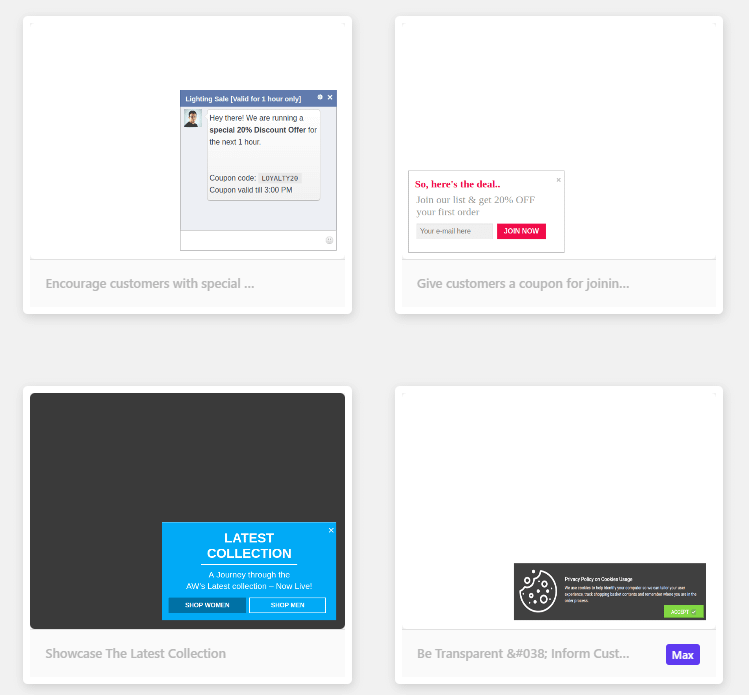
It depends on what type of site you’re running, but there’s a good chance you could take advantage of dozens of these welcome messages. Make sure to click through all of the filters. Although some of the really creative ones are premium (like these sticky notes below,) you can find plenty for free.

For instance, several action bars are available.

The plugin also provides these interesting little chat boxes that pop up and act more like messages or email forms.

Experiment with the different templates and find the combination that makes a meaningful impact on your brand.
Do you have any questions about how to create a website welcome message for your WordPress site? Ask away in the comments section and we’ll try to help!