
Running a small business means you may not have the budget to outsource certain tasks. For instance, if you want to establish an online presence, hiring a web designer could be pricey. However, it can be challenging to make a small business website on your own.
Luckily, this process is not as complicated as it may seem. Some beginner-friendly website builders perfect for a small business will enable you to create a beautiful site without any experience. Best of all, many of them are incredibly budget-friendly.
This article will show you how to make a small business website in seven easy steps. Let’s dive in!
What to consider when making a small business website
When creating a website, there’s no ‘one size fits all’ solution. You’ll need to consider your goals before you get started so you can implement design elements and tools that are best suited to helping you achieve your objectives.
For instance, a dentist’s office would need a completely different website than an architecture firm. Whether you want to inform visitors about a brick-and-mortar business or conduct sales online also significantly influences how your site should turn out.
When starting the process of making your small business site, ask yourself the following questions:
- What information do you need to communicate to your site’s visitors?
- What actions do you want visitors to take after they view your site (e.g., buy products online, come to your brick-and-mortar store, request a quote)?
- How will you display your products or services?
- Do you need an online portfolio of past work to demonstrate your value to potential clients or customers?
You should also think about the expected traffic to your website. If you’re going to sell products online, you may receive a lot more attention than a local business that relies on in-person sales. Your needs in this area will influence which platforms and hosting providers are suitable for your site.
How to make a small business website (in 7 easy steps)
Once you have a clear direction of what you want your website to accomplish, you can start digging into the process of designing and building it. Here are seven key steps to help you launch your business’ online presence.
- Choose your website building platform
- Pick your domain name
- Find your hosting provider
- Select a theme or template
- Add your content
- Optimize your website for search engines
- Publish your website
Step 1: Choose your website building platform
Ideally, you should opt for a user-friendly solution that will help you create a website without any coding knowledge. Here’s what we recommend for small businesses:
- WordPress. There are two versions of WordPress. We will focus on WordPress.org, which gives you access to the best features and full control over your website. You’ll need to arrange hosting separately (more on that later).
- Hosted website builders. If you like all-in-one solutions, you might want to consider a reputable website builder such as Squarespace or Wix. These platforms offer complete website designs out of the box, which you can customize with a drag-and-drop tool. You won’t need to outsource hosting to another company, but you’ll have less flexibility in terms of design.
The costs associated with hosted website builders depend on the plan you choose. For instance, if you opt for the Squarespace Business package, it will cost you $18 per month.
On the other hand, WordPress is an open-source project, which means it’s free for you to use. However, you will be responsible for finding a web hosting provider, which is an additional expense.
For this tutorial, we’re going to primarily focus on WordPress.org because we believe it’s the best solution for most small businesses. Some of the reasons why we recommend WordPress are:
- You don’t need to be a developer or techie to make a website
- The WordPress software is free
- It’s super flexible – you can easily change how your site looks or add new features
Over 37% of all the websites on the Internet use WordPress, so your small business website will be in good company.
Step 2: Pick your domain name
Your domain name should ideally align with your business name. If you’re unsure of what name you should choose, there are several online generators that can provide you with some inspiration, such as DomainWheel:

Here are some tips to take into account when deciding on your website address:
- Make sure it’s easy to spell.
- Keep it as short as possible.
- Include keywords relevant to your business.
We also have some posts that go into more detail on choosing a domain name:
Don’t worry about purchasing your domain name yet – you’ll be able to register your domain name when you sign up for hosting (in the next step). Or, if you want to use a tool like Squarespace or Wix, you can also purchase your domain name through those tools.
Step 3: Find your hosting provider
If you decided to go with an all-in-one website builder, you can skip this step. WordPress users should keep reading.
There are several excellent beginner-friendly hosting companies you can consider. Our top pick is Bluehost, which is officially recommended by WordPress.org:

The cheapest Basic plan starts at just $2.95 per month. This package is usually sufficient for small websites, but you can easily upgrade as your business grows.
Bluehost features an intuitive dashboard and one-click WordPress installation. We recommend you follow our detailed tutorial on creating a WordPress site, which guides you through the process of signing up for a hosting plan.
Step 4: Select a theme or template
WordPress and Squarespace offer tons of templates (or themes) that you can easily customize. Many of them are free to use, too.
In WordPress, you can access free theme options from your dashboard by navigating to Appearance > Themes:
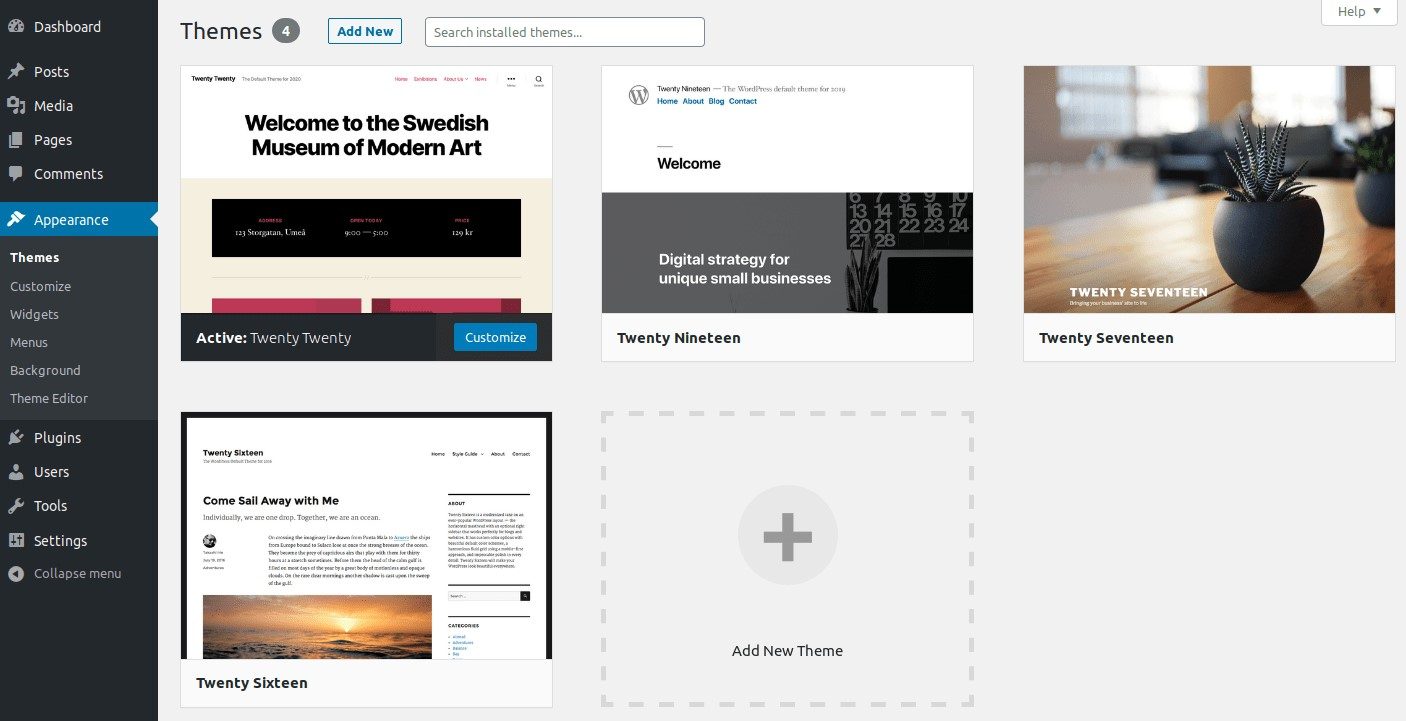
Once you Install and Activate the theme of your choice, you’ll be able to customize it. Alternatively, you may want to consider a premium WordPress business theme. These products often include features such as pre-built portfolios, eCommerce pages, and page builder integration.
On the other hand, Squarespace lists all its templates directly on its site. You can preview each one and click on Start With This Design once you’re happy with your choice:
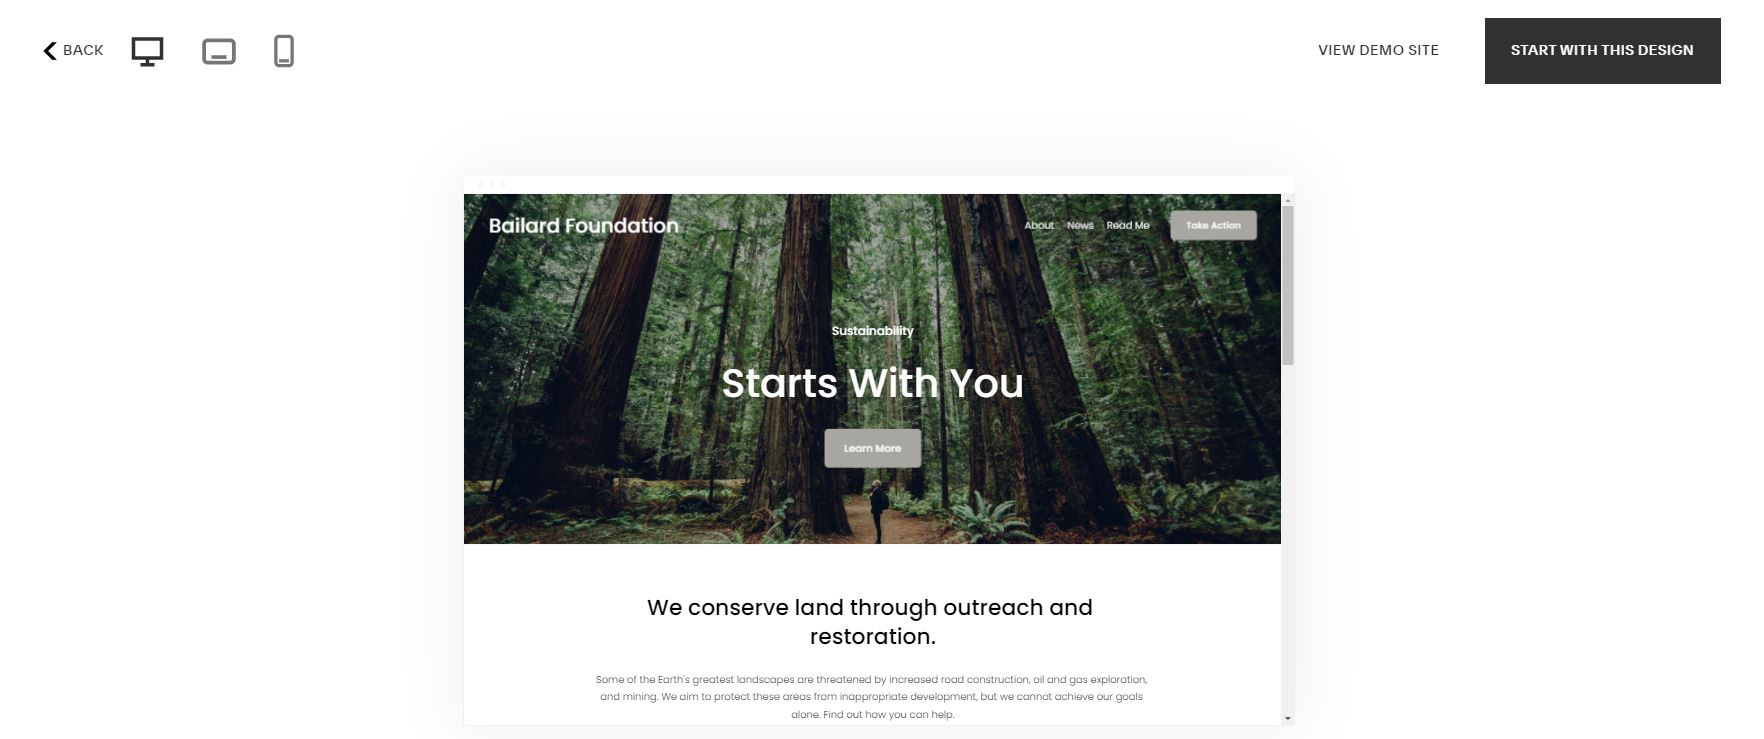
You’ll land straight in the editing area, where you can customize almost all your site’s elements.
Step 5: Add your content
As you customize your website, you will likely want to add content almost immediately. Before you do that, it’s wise to have a rough structure in mind.
Most business websites will need the following:
- Homepage. This will be the first thing many visitors see when they come to your site. It should give a short overview of your services and include clear navigation to other sections.
- Products, Services, or Portfolio page. This is where you will showcase your work and describe what you have to offer customers or clients.
- About page. In this section, you’ll include your story or share information about your team.
- Contact page. Ideally, you’ll want to include a contact form and encourage customers to get in touch if they have questions.
- Blog. This is a must for many businesses nowadays and an excellent content marketing tool.
WordPress and popular website builders such as Squarespace and Wix all enable you to easily create pages and add blog posts.
Step 6: Optimize your website for search engines
Once you have content available online, you still have to make sure people can find it. Search engine optimization (SEO) is one strategy that can help with that.
SEO is the practice of refining your content so that it is more likely to rank high on search engine results pages (SERPs). There are a few key practices that you should keep in mind, such as:
- Using appropriate keywords in your posts and pages
- Optimizing your website for speed
- Picking a responsive design so that your content works on all devices
- Including internal and external links throughout your site
- Using post names in their permalinks
If you chose WordPress as your website platform, you can install an SEO plugin such as Yoast SEO, which scans your content and suggests tips for improvement:
Some website builders offer similar tools. However, it’s always smart to follow this SEO checklist.
Step 7: Publish your website
Many website builders enable you to keep your site private while you’re building it, then publish once it’s ready for visitors. With WordPress, your site will be visible to the public as soon as you’ve installed the WordPress software on your hosting account.
Regardless, before you start promoting your website, there are a few last-minute checks you might want to make:
- Preview how your website will look on mobile devices to make sure it’s readable.
- Read through your content to make sure everything is accurate.
- Remove any filler content from your theme or template.
In order to start driving traffic to your new site, you might consider reaching out to existing customers to let them know you’re now online. You can also promote it on social media or via email.
Conclusion
An online presence is paramount if you want to reach a wider audience. Outsourcing web developers may not be within your budget if you’re a small business owner. Luckily, with beginner-friendly platforms such as WordPress, Squarespace, or Wix, you can build a website in no time and save some money in the process.
To recap, here’s how to make a small business website in seven steps:
- Choose your website building platform
- Pick your domain name
- Find your hosting provider
- Select a theme or template
- Add your content
- Optimize your website for search engines
- Publish your website
Do you have any questions about starting your small business website? Let us know in the comments section below!
Free guide
5 Essential Tips to Speed Up
Your WordPress Site
Reduce your loading time by even 50-80%
just by following simple tips.
* This post contains affiliate links, which means that if you click on one of the product links and then purchase the product, we’ll receive a commission. No worries though, you’ll still pay the standard amount so there’s no cost on your part.